I wish I would have taken a pic of the floor paint but I made a real mess of the lathe and plaster during the demolision.
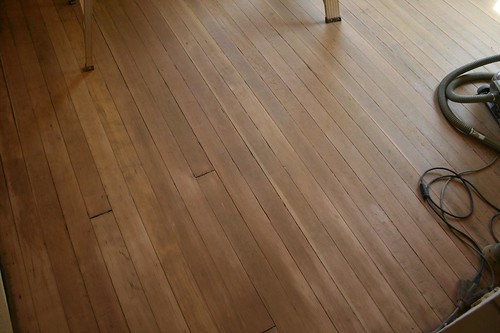
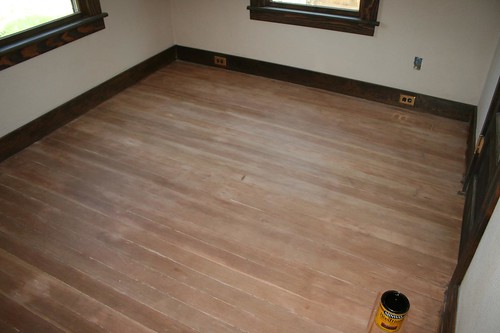
The first pic shows the newly sanded floors.
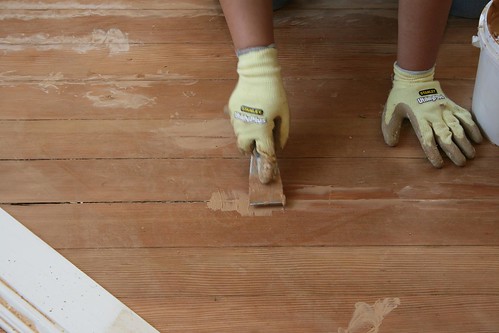
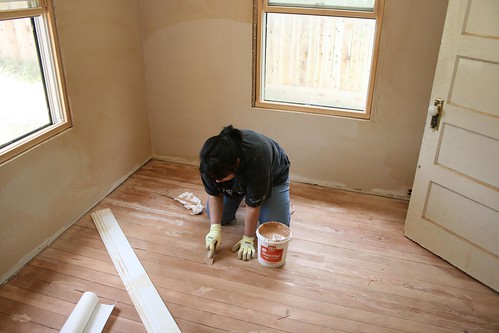
Jovita is patching all of the floor gaps and cracks.
One final sanding before staining.
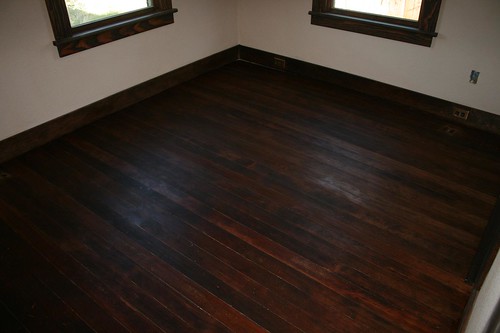
After staining.
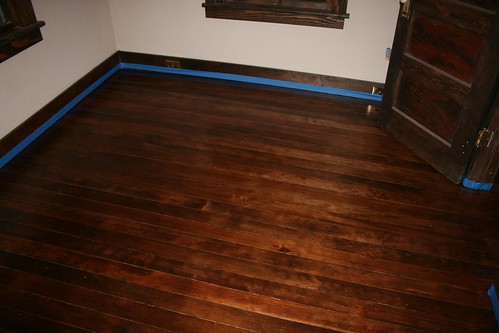
After four coats of Polyurithane
Just found your blog and i am this far back (half reading, mostly skimming at moment) love it. This post brings up a question i have, what brand of wood filler did you use, i ask since it apears it stained decently well and any wood fillers i have found simply don't accept the stain or varnish stain a fraction as well as the wood does leaving horible bright marks where i used filler (often making me regret using filler on projects).
ReplyDeleteSo what brand of filler did you use, or have you used that you find acturaly works rather well for being able to stain?
Thanks.
some of the things i have put work into (havent updated in ages or listed bigger items yet)
http://www.facebook.com/media/set/?set=a.419578470684.198600.501255684&l=973c45cc24
The floor, with the door and windows, looks more exceptional after being sanded off, stained and coated. Please don't put a carpet. It looks good bare.
ReplyDeletemattress for sale