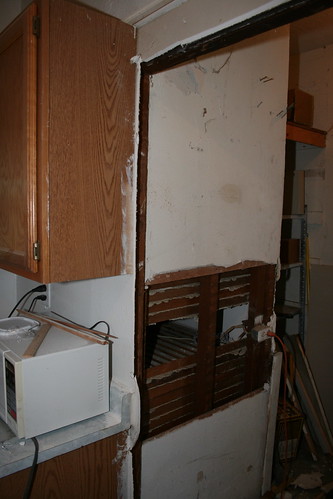
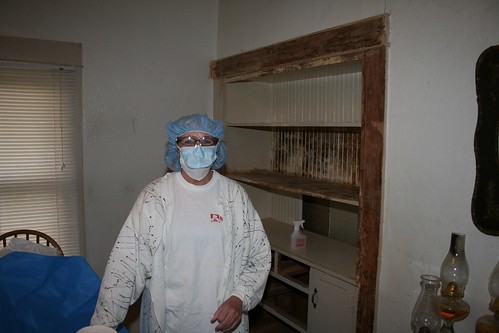
Kitchen Before 2009
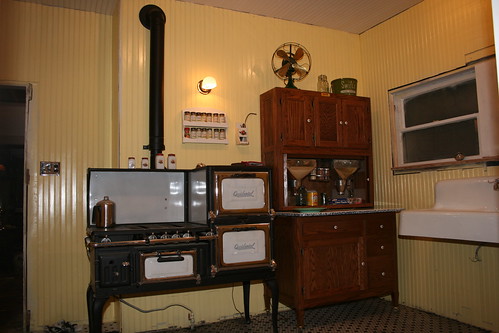
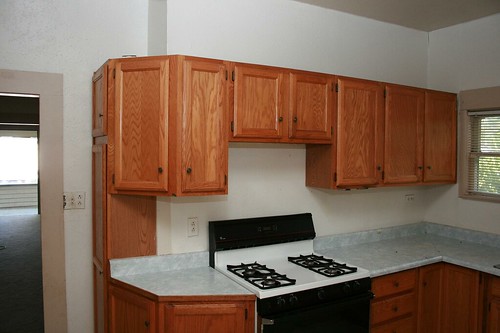
Kitchen After 2010
Back Bedroom Before 2009
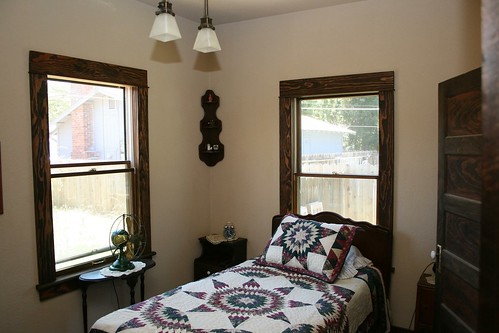
Back Bedroom After 2010
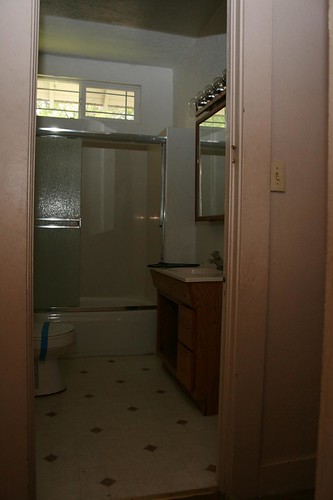
Bathroom Before 2009
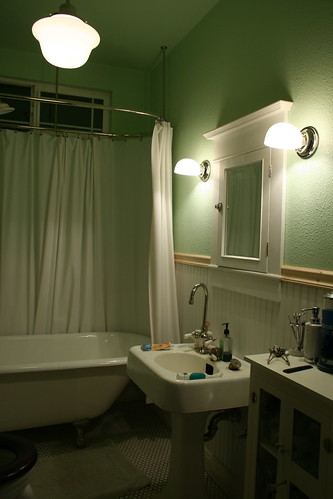
Bathroom After 2010
Pantry Before 2009
Pantry After 2010
Tuesday, December 7, 2010
Tuesday, November 16, 2010
Baking Cookies in the 100 Year Old Occidental Oven
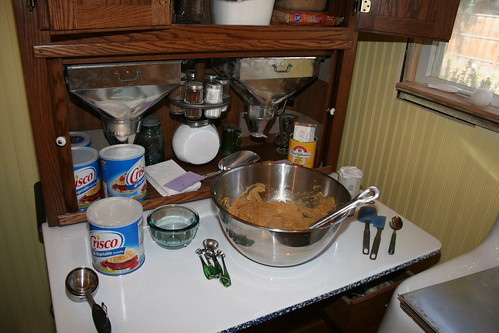
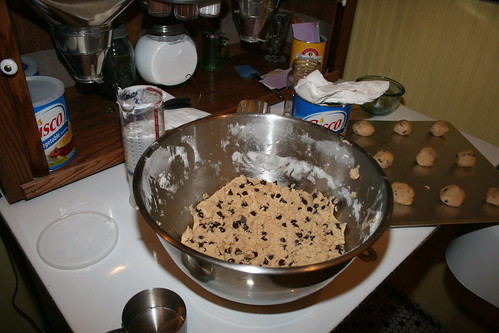
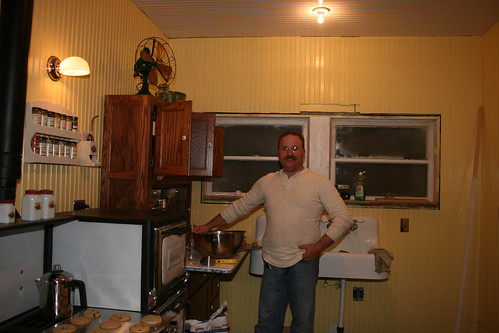
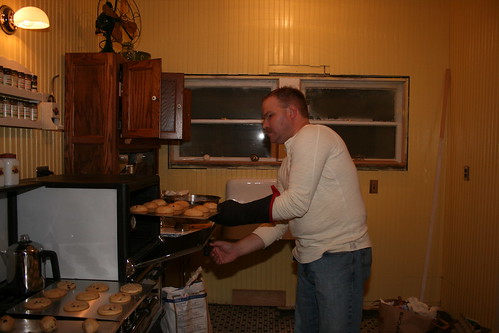
I finally put my 100 year old Occidental Oven to the test today. I ran this oven for 9 hours straight at 350 degrees while I baked 12 batches of cookies. I baked as they would have 100 years ago using a Hoosier Cabinet and a gas/wood combination stove-oven. From 10:00am to 8:00pm, I did non-stop baking.
Soft Molasses before/after
Here is 75% of what I baked today. I plan on making the same amount tommorrow.
Soft Molasses before/after
Here is 75% of what I baked today. I plan on making the same amount tommorrow.
Friday, October 29, 2010
Kitchen is comming together
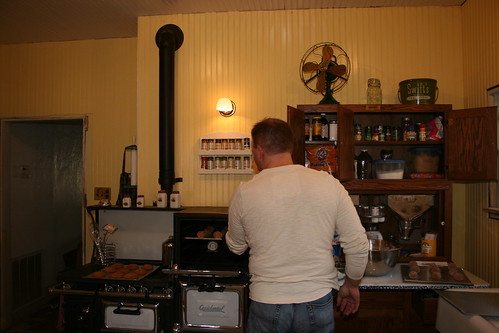
I finally moved my stove back in the kitchen. We also decided to locate the Hoosier Cabinet next to the stove on the west wall rather than the south wall as origionally planned. We comprimised. I wanted an eat-in kitchen with an eating table. We will have the small farmhouse style table on the south wall. We have tried our best to make the kitchen period-like to the house. The house was built in 1915. The stove was made between 1915-1919. I bought it at Buckeye Antiques and Appliance in Stockton California. They do fabulous restorations on antique stoves. See my link to their website. The Hoosier Cabinet is a 1917 reproduction made by an Amish man in Pennsylvania. The sink begs the look of the 1910-1925 period. The beadboard was widely used back then in working rooms that got alot of use such as farmhouse kitchens, boarding house kitchens, bathrooms and industrial applications. We still need to add window trim, door trim, baseboards, and crown moulding.
Thursday, October 28, 2010
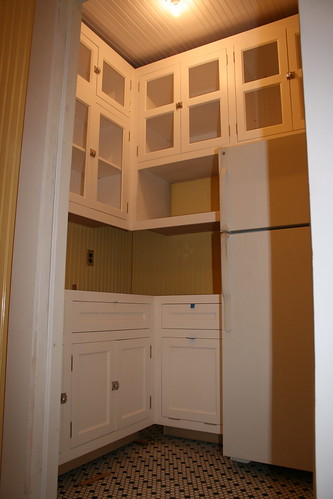
Pantry Custom Cabinets
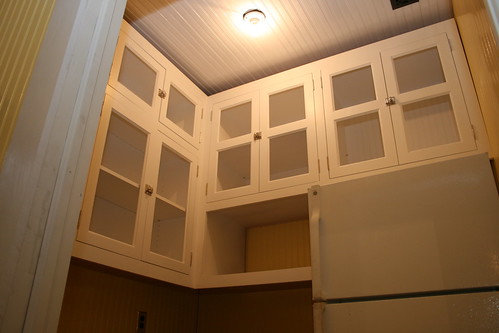
Finally we have our cabinets. My brother in-law Carmon does fine work. He makes custom cabinets and stairs. We are still awaiting the glass panels, bin pulls, and counter tops. After a year and a half of not having dishes, I finally unpacked them all and put them away in the new cabinets. I was like a kid in a candy store knowing I would soon have a kitchen again.
Thursday, October 7, 2010
Kitchen Paint, Sink, and Tile
Saturday, September 25, 2010
Built-In Beadboard Flipped
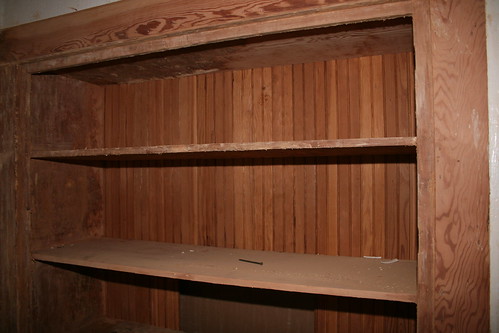
I finally installed the beadboard on our built-in hutch after flipping it around. The back side is caked with paint which would have been nearly impossible to remove. Jeremy and Dawn from Bungalowcious gave me this idea which worked out great. I still need to do more sanding on the rest of the hutch before I stain it.
Tuesday, September 21, 2010
Bathroom Wall Sconces
Thursday, September 16, 2010
Farmhouse Sink
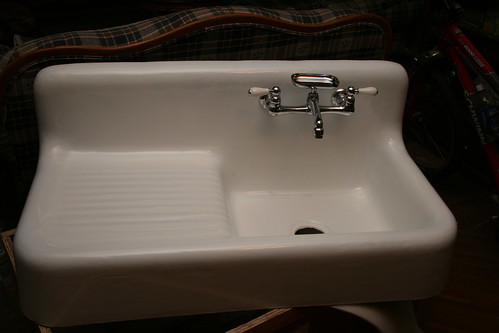
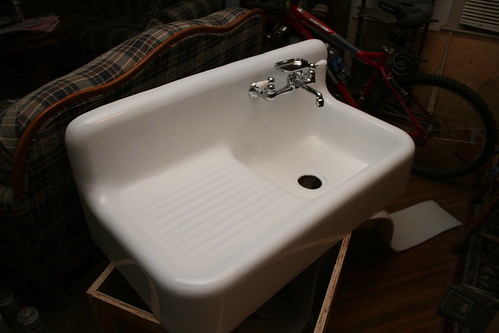
Here is our new Farmhouse sink that will be in our kitchen. It has been sitting in a shipping crate in the dining room for a year and will soon be installed in the kitchen. I can't wait!! I ordered it from Canyon Bath online and I am really happy with the quality of this cast iron sink. It weighs 150 lbs and mounts on the wall. I had to re-build part of the kitchen wall to support the weight of the sink. Legs for this sink is optional. Although, I might purchase them in the future. They cost $300 and I am in no hurry.
The faucet I also bought online at Homeclick. It was rather difficult for me to find one with porcelain handles instead of the chrome ones.
Monday, September 13, 2010
Pantry Paint Colors
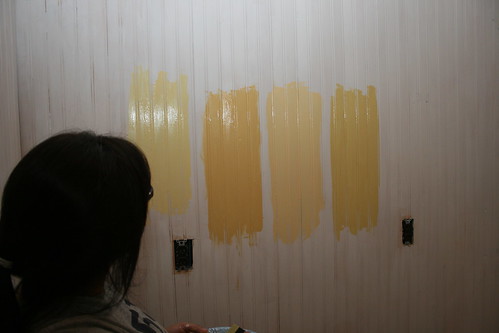
After Jovita primered the pantry, she painted the four shades of yellow we picked out at the store. (L-R) Tiggers Tummy, Cornbread Yellow, Melted Butter, and Vintage Yellow. We decided to go with the Tiggers Tummy on the far left. It is a Disney Color. We felt that it would be a color that we would not get tired of. Initially, when we looked at the swatches, we were leaning towards the Cornbread Yellow which ended up being too dark. The Melted Butter has an orange tint and the vintage yellow has a bit of a mustard shade in it. Keeping in mind that all of the trim will be white, we feel that the Tiggers Tummy on the far left will work the best. Our new dishes will be red in color to compliment the white and yellow.
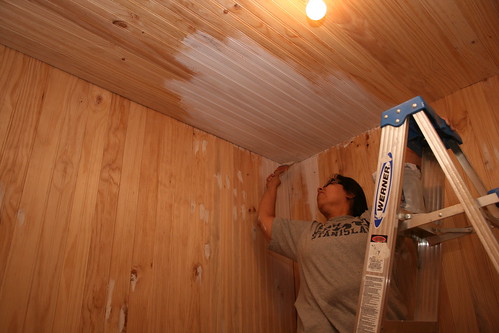
Jovita primered the pantry on Saturday. Since we do not have a paint sprayer, she used a brush on the beadboard. We would have preferred a paint roller. However, the roller does not get into the tight grooves of the beadboard.
Wednesday, August 25, 2010
Built-in Buffet Ideas
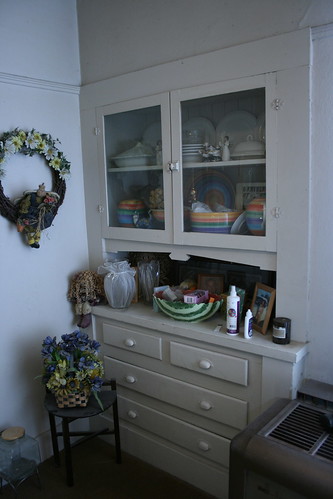
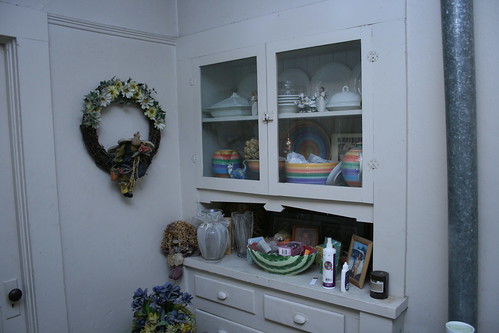
Since my Built-in buffet doors were removed some time ago, I have been gearing up some ideas on how to make them. I have tossed around the idea of three doors or just having two doors like they origioinally had.
I took some pics of my neighbors built-ins. Her house was built in 1914. I don't know if my house was built by the same builder or not. However, when her house was finished being built, ours began immediate construction.
The bin pulls are just like the ones our built-in used to have. When I stripped the paint off, you could see the impression. Also, we had the same kind of latches. The only thing different is the hinges.
Monday, August 23, 2010
Floor Plan
Sunday, August 22, 2010
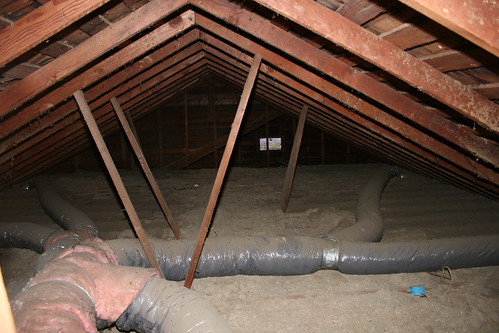
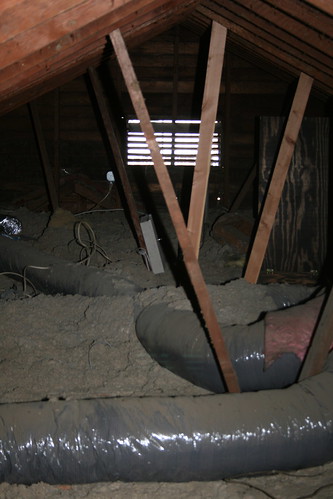
The Attic
The attic is decent size. However, If I ever plan to build a room up here I will have to add two dormers making it an airplane bunglaow. One dormer would be for the stairs and the other would be a small room. This would be done far into the future. There is soo much that needs to be done first. I am standing about halfway towards the back of the house looking towards the front. This shows the attic vent in the porch.
This is a shot looking towards the back of the house.
Wednesday, August 18, 2010
The house Has Settled
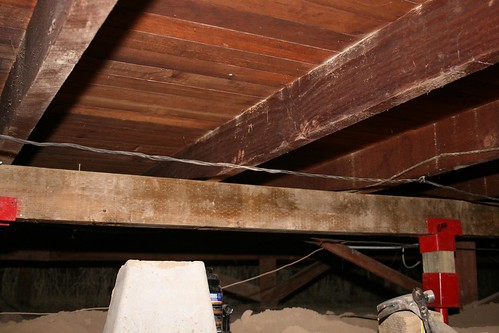
Over the last 95 years, the house has settled. In some places, the house has settled two inches. The lowest spots are the dividing wall between the kitchen and dining room and the wall between the back bedroom and bathroom. The one I am really concerned about is the wall between the dining room and kitchen. There is a chimney between the walls that have really contributed to the house settling. I have ordered four screwjacks from Ellis Manufacturing that will serve as new joists. I have found the dirt to be soft as the pier blocks sink in the ground as I jack up the house. Soon, I am going to pour a concrete slab under the house so I will have a firm foundation. This will allow me to raise the house without any sinking.
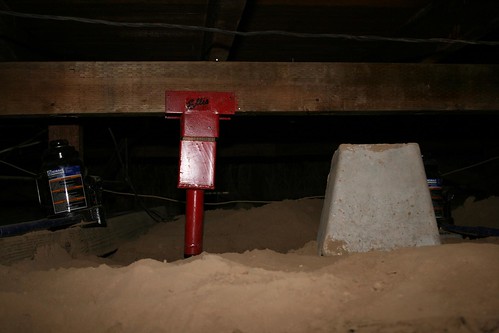
I'm using a 10ft 4x6 pressure treated piece of lumber to line up against the crossbeams. I'm using 4x4's as the stalks inside the screwjacks. I also have two 40,000lb bottlejacks to help in this process. The top pic shows the screwjack being forced in the ground by the weight of the house. The screwjack is on top of a 1ft high pier block made of industrial concrete. Going slow is vital!! 1/2 inch a day is max. Too much will result in alot of snap, crackle, and popping and will ruin the drywall. EVERYONES EXPERIENCE WILL BE DIFFERENT. SO DON'T TAKE MY WORD FOR IT BECAUSE I AM NOT A PROFESSIONAL HOUSE RAISER.
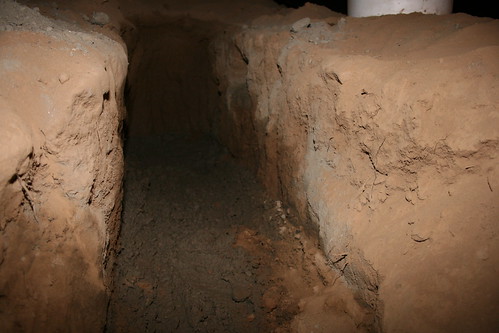
I am in the process of digging a 2ft trench under the dining room and kitchen wall. I am half way done digging.
08-28-2010 I poured 4 bags of concrete in the 70" long 2 1/2 ft deep trench. I ran short at least 4 bags. I need to fill it 1/2 ways up so it can stand the weight of the house. I can't fill it too much because the screwjacks and 4x6 lumber takes up its share of space.
Attention to Detail
All of the light switches in the house have the period correct push-button light switches used from the 1890's till around 1935. The switches are $18.00 each, but well worth it for aesthetics as well as a conversation piece.
All of the door hinges are half mortise ball tip type. They are solid forged brass from Rejuvenation.
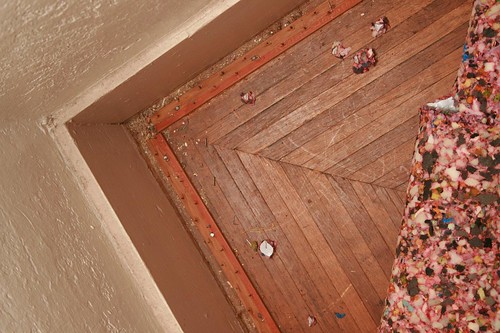
The Master Bedroom Before
Dining Room & Living Room
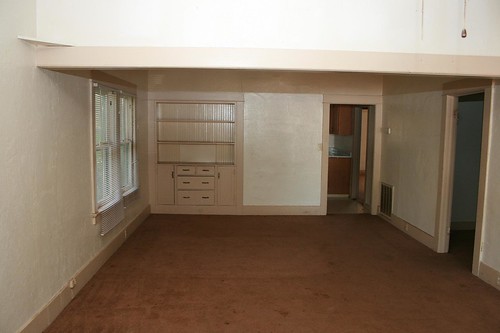
The first thing I did prior to buying the house was pull the carpet in the corners to make sure the decorative wood floors were still there. And they were!! These floors are in the dining room and living room. They are one inch planks of quarter sawn oak with the origional stain.
After I pulled the carpet, I used Murphy Oil to clean the wood floors that were very dirty. They have not seen the light of day in almost 40 years. After I cleaned them, I used Beeswax to add moisture back to the wood.I'm not sure if the floors were ever polyurithaned or not. If they had a protective coat, it is gone now.
I was soo mad when I discovered that the colonnades were removed. Basically, there were two colonnades (Bookcases with pillars) on each side of the room separating the living room from the dining room. I will have them custom built in the future.
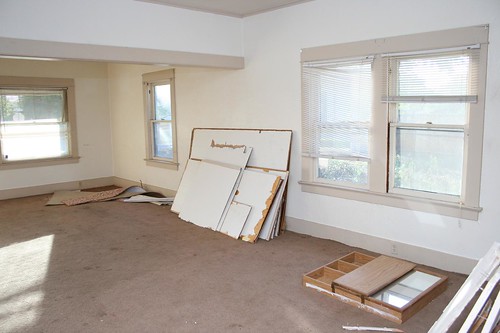
This is what the dining room and living room looked like when I first bought the home. In this photo, I was using it as a staging area while I waited for the dumpster to arrive.
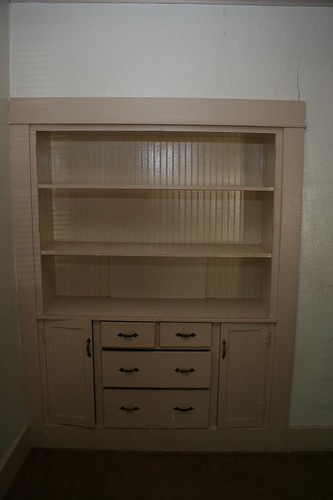
Built-In Buffet
When I bought this home in 2009, I took a good look at the built-in buffet and knew it would be a job to strip the many layers of paint off.
I started to strip off the paint. What you see here took 3 hours or so to do. Since it wasn't top priority, I did not continue with it right away. During this time, my bathroom was undergoing construction.
My Mom came and stayed two days with me and stripped all the paint off the built-in buffet. Currently, I need to sand it so I can stain it. Right now, I have the beadboard removed from the back of the built-in so I can flip it. Since the back side is unfinished and unstained, I won't have to strip the paint from all of the grooves. Jeremy and Dawn from Bungalowcious gave me this idea.
Subscribe to:
Posts (Atom)