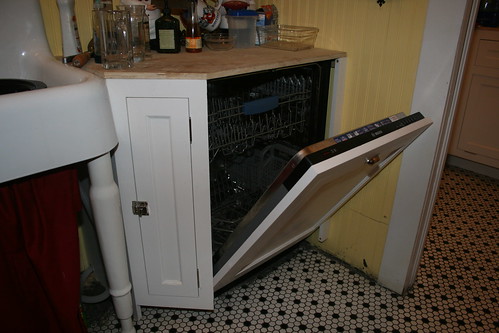
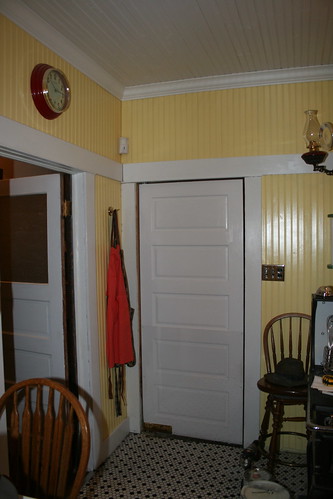
Here is our new Bosch Dishwasher that takes a panel. We are trying to keep our kitchen as period correct as possible. In doing this we decided to buy a dishwasher that is not visible. Here is what it looks like with the door closed.
Here is a view of the dishwasher partially open to give you a perspective on how the panel is mounted to the dishwasher door. Basically you select your settings with the door open like this and once you shut the door, the dishwasher starts.
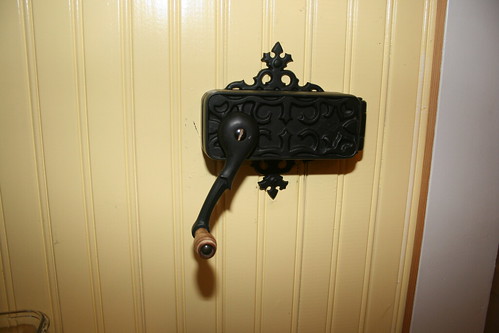
This can opener we bought from ebay. It was made in the late teens to 1920's sometime. It is made from cast iron and mounts firmly on the wall. I had to strip three layers of paint from it which took me about six hours. I painted it in its origional finish.
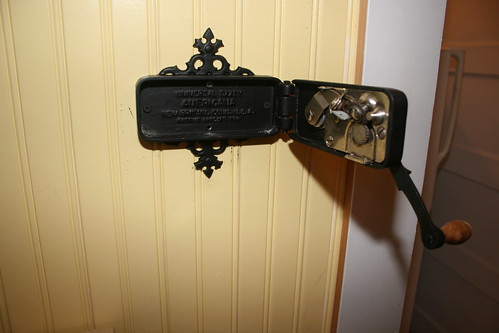
Here is what the can opener looks like in the "ready to use position".
Sunday, November 6, 2011
Saturday, October 22, 2011
Master Bedroom
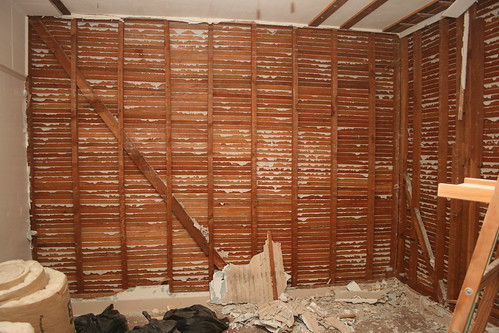
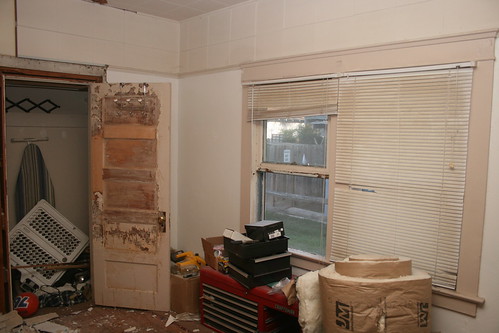
I am finally taking on the task of remodeling the master bedroom which is long overdue. After all the plaster is removed, I will add insulation and drywall. All woodwork will be stripped, sanded, and stained as it once was many years ago.
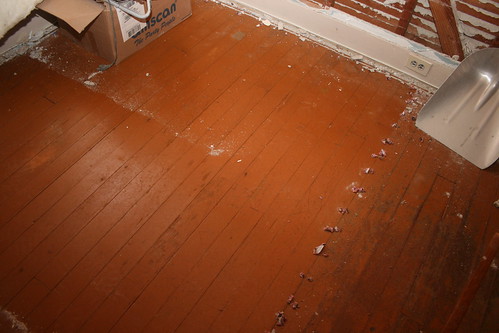
The floors have floorpaint on them. I am guessing that these floors have been painted since the house was built. They have had carpet over them since the late 1950's is my guess.
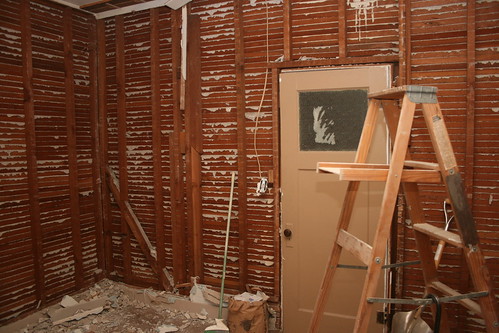
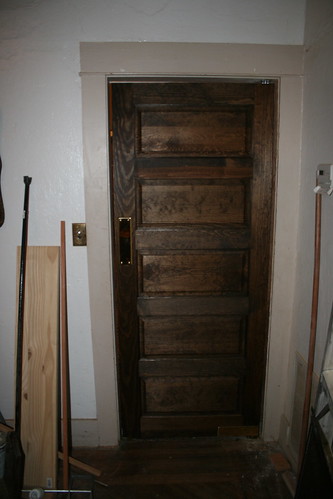
This door leads to the dining room. The door is not origional to the house. I put this here to keep the dust from going everywhere. The door came from a neighbor who did not want it. It was his bathroom door and his house was built in the early 1920's. I am not going to use the door when I am done. Our house came with the five panel doors which is what I will be replacing it with.
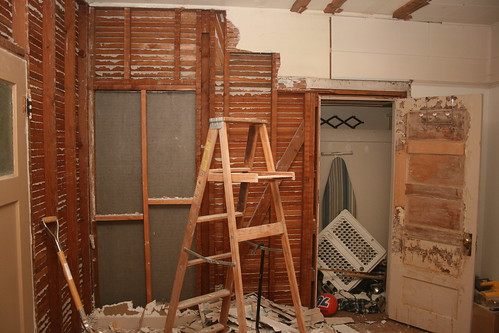
OK. If you look closely, there was a door here on the left of this wall. It led to the back hallway. It was boarded up about 20 years ago because the central heat and air is right on the other side. I have contemplated moving the central heat and air to the attic someday.
Tuesday, August 16, 2011
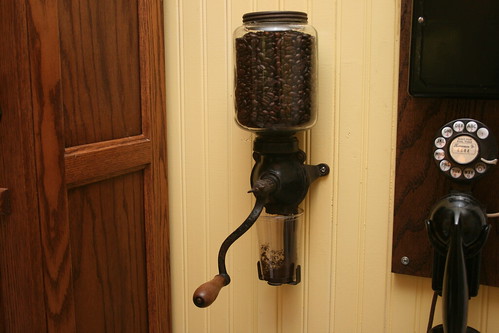
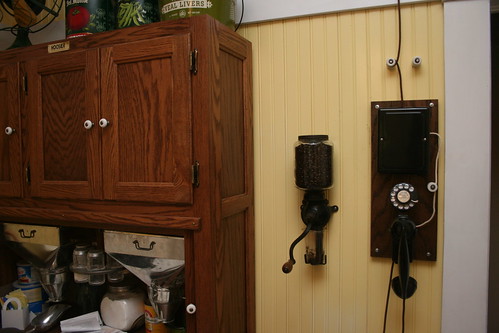
Kitchen wall mount coffee grinder
Tuesday, July 26, 2011
Kitchen & Dining Room Swing Door
Here is our new swing door for the ding room and kitchen. It has been a long time in comming to get one of these. The house origionally had one many years ago. I uncovered the origional mounting holes and divots left in the wood making it easy to mount. The heavy forged brass push plate was the final touch of this doors character.
The kitchen side shows the detail of the swing pivot spring hinge on the bottom left corner of the door. I orded a push plate in oil bronze finish and should arrive any day.
Sunday, July 10, 2011
Mudroom
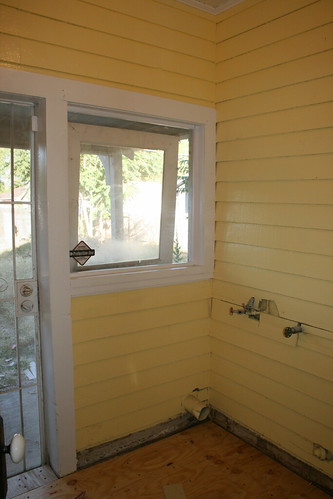
I finally got our mudroom ready for use. I used the same color scheme as the kitchen which is the next room over.
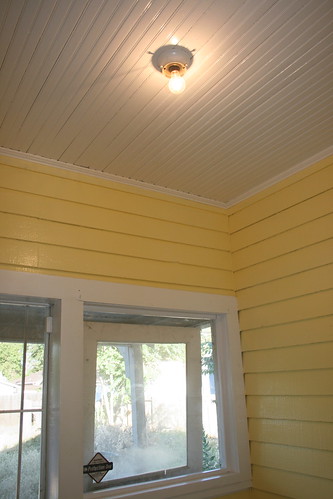
The beadboard celing had alot of flaking paint that had to be hand sanded off before I primered and painted it. I am happy with the way it turned out.
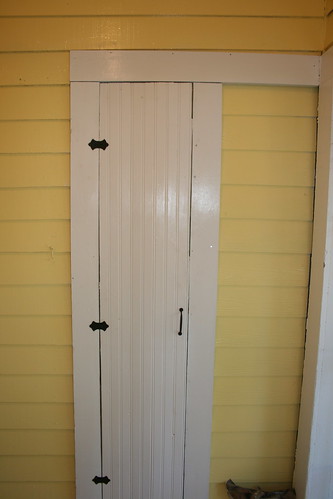
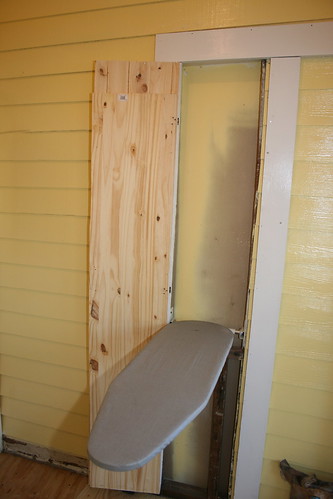
I decided to have a built-in ironing board which I felt was appropriate. This is where the door origionally was entering the back storage room (now the pantry). I had to fabricate new shiplap siding board to duplicate the left side of the ironing board.
Here is what the ironing board looks like.
Friday, May 27, 2011
Schoolhouse lights for the kitchen
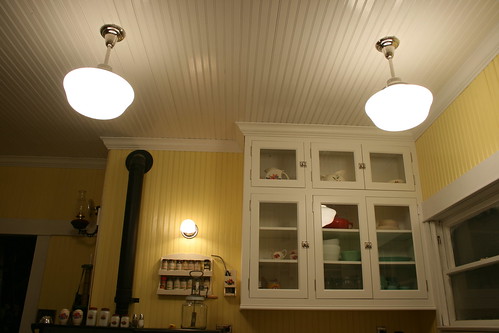
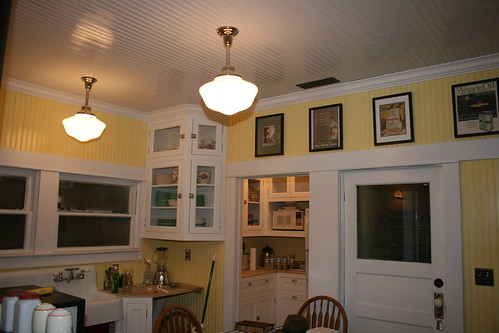
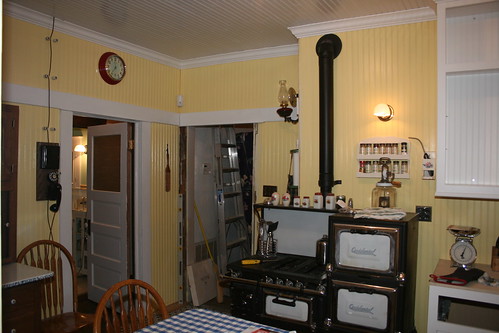
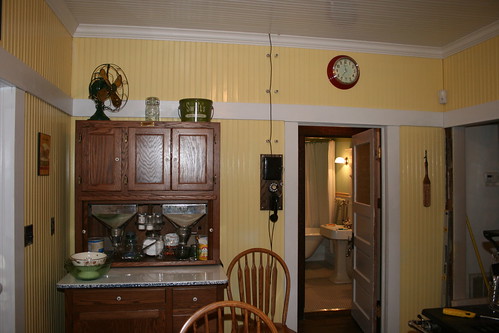
These schoolhouse lights were bought at Rejuvenation. I just installed them today. They add a final touch to the kitchen.
Here is another angle of the schoolhouse lights.
Here is another pic using the flash. Believe it or not, this is closer to how bright the kitchen looks in real life. The first two pics came out a bit dark since I did not use a flash.
Here is another angle of the schoolhouse lights.
Here is another pic using the flash. Believe it or not, this is closer to how bright the kitchen looks in real life. The first two pics came out a bit dark since I did not use a flash.
Wednesday, May 4, 2011
Kitchen cupboard doors
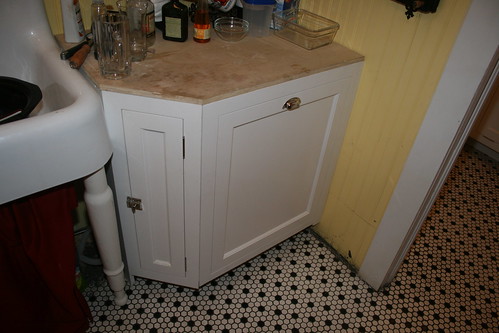
I finally got my cupboard doors put on today. The lower cabinet is not 100% complete yet but I will get more pics as I progress.
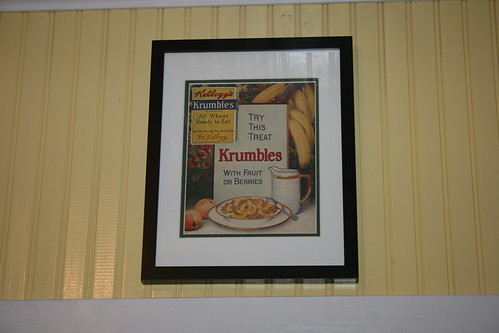
This is an ad I bought on ebay that I had framed. It is an Kellogs Krumbles Cereal Ad from 1917.
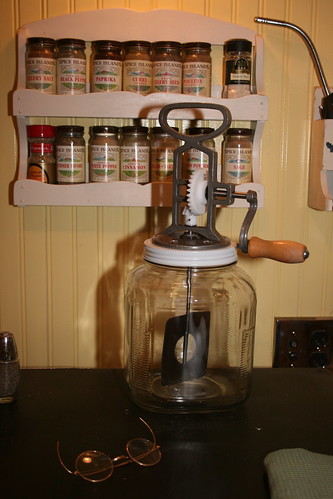
This is my Butter Churn I bought at Lehmans. I make hommade butter and it is delicious.
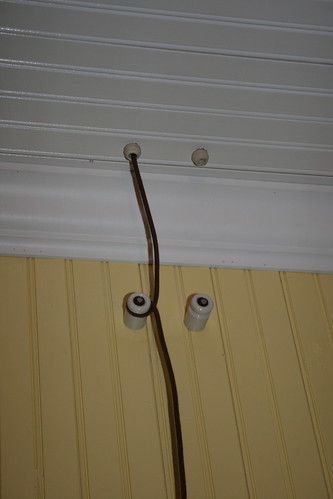
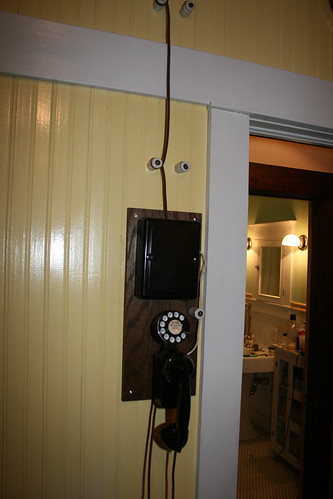
Still need to rig up the other wire to keep it historically accurate, but here it is. This is our phone line on knob and tube wiring. Many homes were wired like this back in the early 1900's.
This telephone however, is not period correct but I like it. It dates back to 1940. It will have to do until we find an oak wall phone that has been converted over.
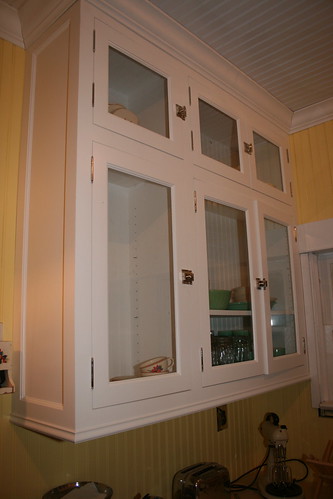
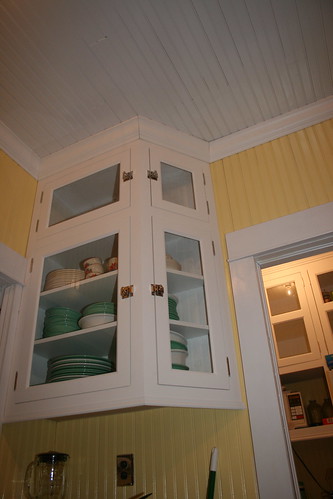
Here are the new doors with ball-tip hinges and catch latches.
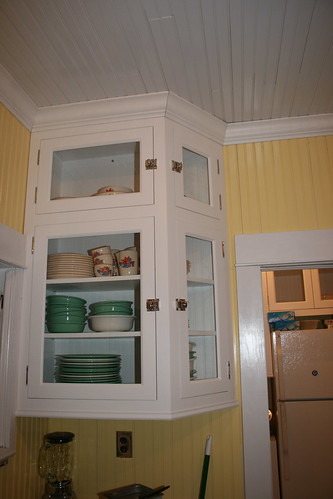
Here is the other side. I am waiting on three shelves for this side.
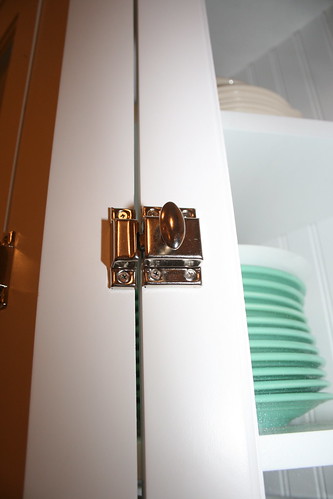
Close-up detail of the latch.
The dishes on the top shelves are from 1946 when my grandparents married. They are made by Universal Pottery and the collection is "Calico Fruit". Below is Fiesta Ware. A friend commented that I have modern day dishes in an old vintage kitchen. I told her that Fiesta has been around forever..Many don't know that Fiesta Ware came out in 1936.
Tuesday, April 26, 2011
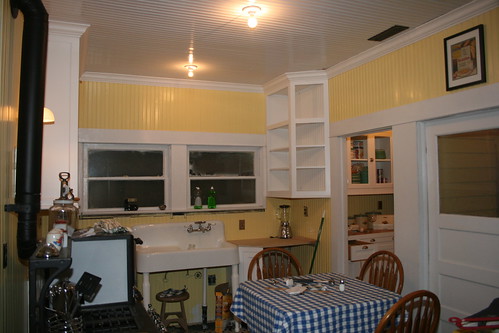
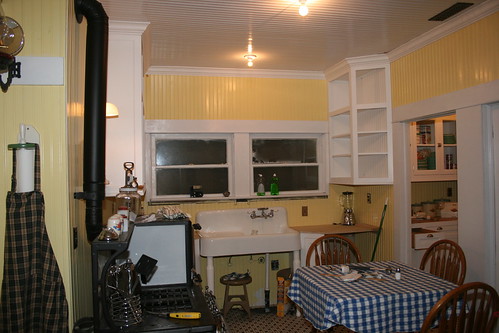
Kitchen nearing completion
Ok...Almost done. I still need to have the cupboard doors installed. Today the crown moulding was installed. All I need is some baseboards, schoolhouse lighting, a dishwasher(that takes a hidden panel), counter tops, bottom piece of window trim, door trim for dining room, and a swinging dining room door.
Friday, April 1, 2011
Master bedroom renovation
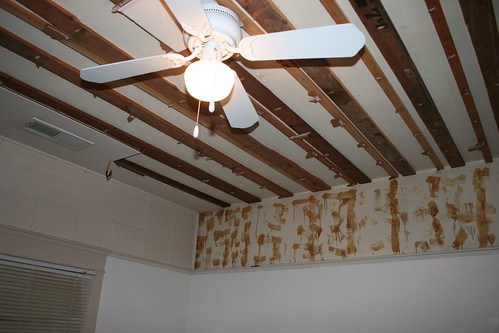
This is only the beginning of a very tedious process of the master bedroom renovation. My deadline for completion is June 25, 2011. My fiance and I will be married that day and that is when she will move in.
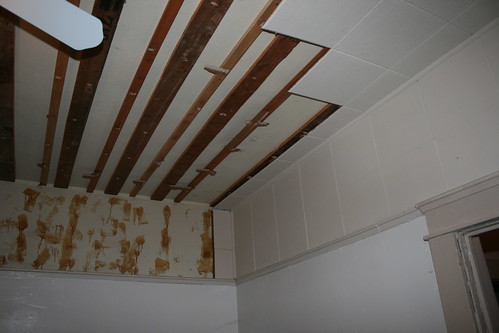
The celing tiles are the first things to go. After I remove the tiles, I have to take down the templates used to secure the tiles on the celing. That can be a pain because they are nailed into the joists above the lathe and plaster. Once I get that done with, I will carefully remove the picture rails, window trim, baseboards, and door frames.
Monday, March 7, 2011
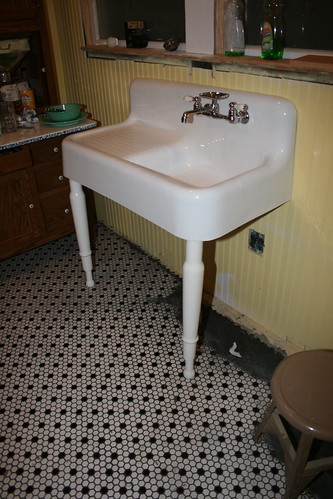
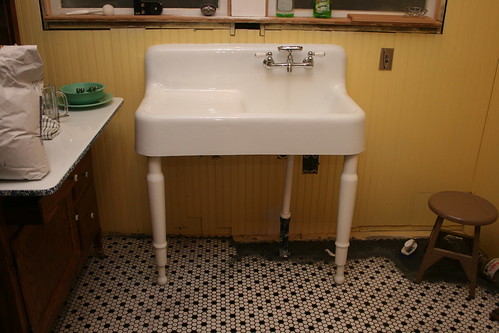
NEW SINK LEGS
Subscribe to:
Posts (Atom)